
Creating Custom Shelving: A DIY Guide
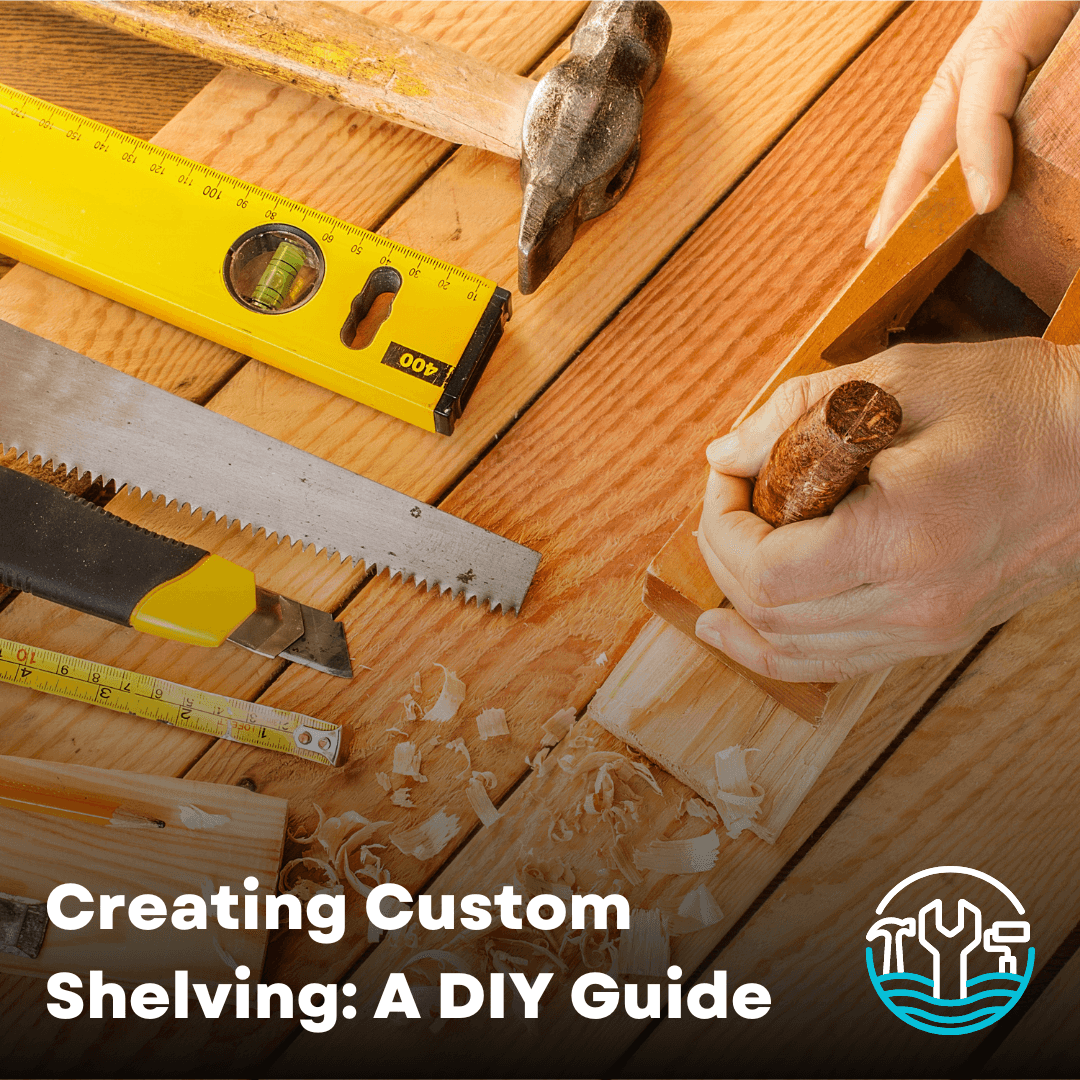
Create custom shelving that fits your space and style.
Are you looking to add more storage space to your home while also enhancing its aesthetic appeal? Custom shelving could be the perfect solution! In this DIY guide, we'll walk you through the process of creating custom shelving that fits your space and style perfectly.
Step 1: Planning and Design
The first step in creating custom shelving is to plan and design your project. Start by assessing the space where you want to install the shelves. Measure the dimensions carefully and consider factors such as the height, width, and depth of the shelves. Think about how you will use the shelves and what items you'll be storing on them.
Next, sketch out your design ideas on paper or use a design software tool to visualize your shelving concept. Consider factors such as the material, style, and finish of the shelves. You can choose from a variety of materials, including wood, metal, or glass, depending on your preference and the look you want to achieve.
Step 2: Gathering Materials and Tools
Once you have a clear plan and design in mind, it's time to gather the materials and tools you'll need for the project. Here's a basic list of what you'll need:
- Shelving material (wood, metal, etc.)
- Brackets or supports
- Screws and anchors
- Level (such as this one: Mayes Polystyrene Level)
- Drill
- Saw (if cutting shelves to size)
- Sandpaper
- Paint or stain (optional)
Step 3: Building the Shelves
Start by cutting the shelving material to the desired size using a saw. If you're using wood, sand the edges to smooth them out. Next, attach the brackets or supports to the wall according to your design plan, making sure they are level using a reliable level like the Mayes Polystyrene Level.
Once the brackets are in place, carefully position the shelves on top of them and secure them in place using screws. Make sure the shelves are level and secure before moving on to the next step.
Step 4: Finishing Touches
After the shelves are installed, you can add any finishing touches to customize them to your liking. This may include painting or staining the shelves to match your decor, or adding decorative elements such as trim or molding.
Step 5: Organizing Your Shelves
Finally, it's time to organize your newly created custom shelving! Arrange your items in a way that is both functional and visually appealing. Consider using baskets, bins, or decorative boxes to corral smaller items and keep the shelves looking tidy.
Conclusion
Creating custom shelving is a rewarding DIY project that can add both style and functionality to your home. By following these simple steps and using the right tools and materials, you can design and install custom shelving that perfectly suits your space and meets your storage needs. Start planning your custom shelving project today and enjoy the benefits of a more organized and beautiful home!