
Step-by-Step Guide: How to Safely Replace an Electrical Outlet
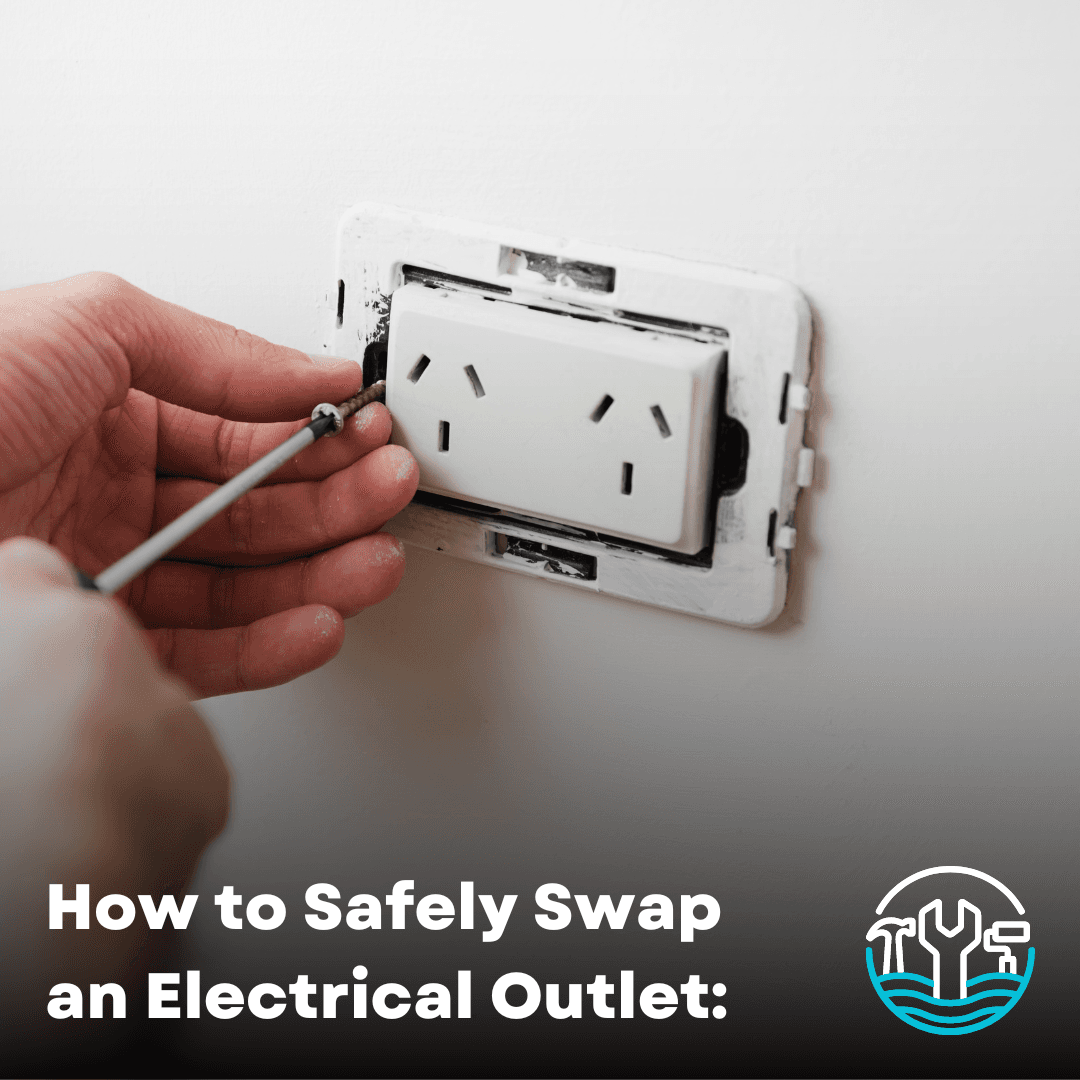
Considering replacing an electric outlet? Follow this DIY guide for the steps to do so safely.
Electrical outlets are one of the most frequently used components in any home, providing power to our electronic devices and appliances. Over time, these outlets may wear out, become damaged, or simply need upgrading to meet modern safety standards. If you're considering replacing an electrical outlet in your home, this DIY guide will walk you through the process step by step, ensuring safety and success.
Preparing for the Project
Before diving into the replacement process, gather the necessary tools and materials:
- New electrical outlet (compatible with your current wiring)
- Screwdriver set (such as the Klein Tools 2-Pc INS Driver Set)
- Voltage tester
- Wire stripper
- Needle-nose pliers
- Outlet cover plate
- Wall plate (such as the Leviton 1-Gang White Midway Duplex Outlet Nylon Wall Plate)
- Electrical tape
Step-by-Step Replacement Process
- Turn Off Power: Head to your home's circuit breaker panel and turn off the power to the room where you'll be working. Test the outlet with a voltage tester to ensure that there is no electricity flowing to it.
- Remove Outlet Cover: Use a screwdriver to remove the screws holding the outlet cover plate in place. Set the cover plate aside.
- Test Wires: Use the voltage tester to confirm that there is no power flowing to the outlet. Test each wire individually to ensure safety.
- Remove Old Outlet: Unscrew the screws holding the outlet in place and carefully pull it out from the electrical box. Take note of how the wires are connected to the outlet.
- Disconnect Wires: Using needle-nose pliers, disconnect the wires from the old outlet. Remember to keep track of which wire is which (hot, neutral, ground).
- Prepare Wires: Use a wire stripper to remove approximately ½ inch of insulation from the ends of the wires. This will expose the copper wire for a proper connection.
- Connect New Outlet: Attach the wires to the corresponding terminals on the new outlet. Typically, black wires (hot) go to brass terminals, white wires (neutral) to silver terminals, and green or bare copper wires (ground) to green terminals. Tighten the screws securely.
- Secure Outlet: Carefully tuck the wires back into the electrical box and secure the new outlet in place with screws.
- Attach Outlet Cover: Place the outlet cover plate over the new outlet and secure it with screws.
- Test Outlet: Turn the power back on at the circuit breaker panel and test the new outlet with a voltage tester to ensure that it's working correctly.
Safety Tips and Precautions
- Always turn off the power at the circuit breaker panel before working on electrical outlets.
- Use a voltage tester to double-check that the power is off before touching any wires.
- Ensure that wires are securely fastened to the outlet terminals to prevent loose connections and potential hazards.
- If you encounter any issues or are unsure about any step of the process, consult a licensed electrician for assistance.
Conclusion
By following these step-by-step instructions and safety tips, you can confidently replace an electrical outlet in your home. Remember to gather all necessary tools and materials beforehand, prioritize safety at all times, and don't hesitate to seek professional help if needed. Enjoy the satisfaction of completing a DIY project that enhances both the safety and functionality of your home!
For purchasing materials mentioned in this guide, you can find electrical outlets and wall plates at Amazon, Lowes, and Home Depot.
Happy DIY-ing!